
Plan Kyoto by the path, not the pin.
Pair temple slopes with nearby lanes, save the cross-city rides for another day, and choose the tour that fits your pace. Start with Fushimi at first light, Arashiyama by the river, or Gion after dusk.
Begin with days that hold together.
The strongest first choices respect the map: an eastern-hills walk, a focused Arashiyama morning, or a southern route through Fushimi Inari. Tea and Gion fit best when the travel between stops stays short.
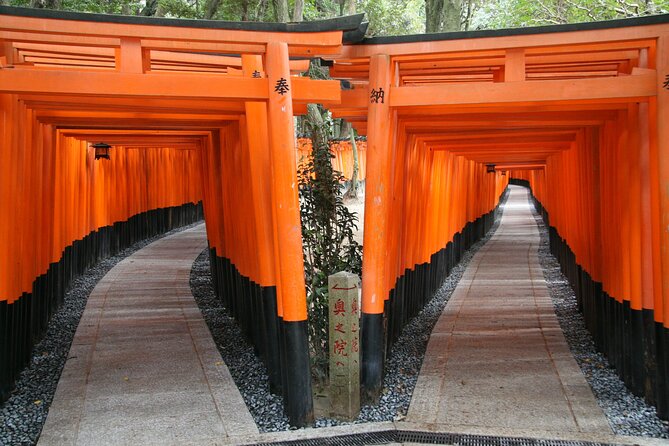
PERFECT KYOTO 1-Day Bus Tour
See Kiyomizu-dera, Sanjusangendo, Arashiyama, Tenryu-ji, Kinkaku-ji, and Fushimi Inari in one guided day with tickets, audio, and an air-conditioned bus.
From $129 per person
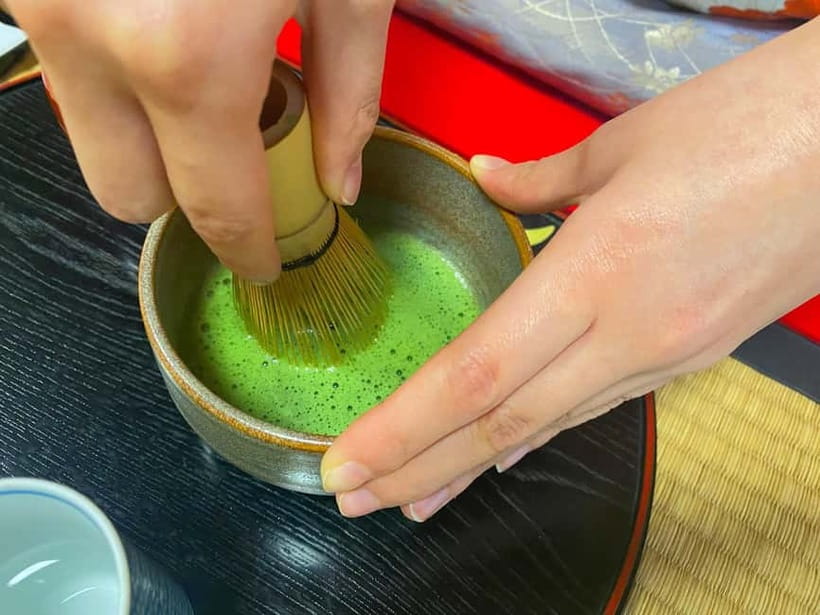
Read the review → ★ 4.9Strong first dayTea Ceremony Ju-An at Jotokuji TempleFrom $293,207 reviews
 ★ 4.3Early start45-Minute Tea Ceremony Lesson ExperienceFrom $222,378 reviews
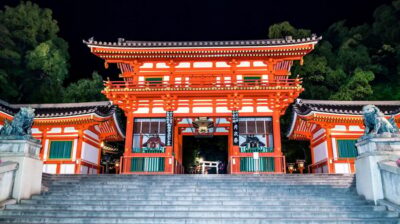 ★ 4.7Small-group pickGion Geisha District Walking Tour – Stories of GeishaFrom $202,187 reviews
 ★ 4.9Worth the detourBest of Kyoto: Gion, Geisha, Pagodas & CobblestonesFrom $242,058 reviews
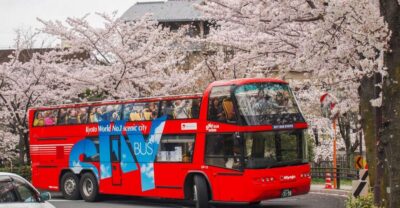 ★ 3.9Slow KyotoHop-on Hop-off Sightseeing Bus TicketFrom $272,034 reviews
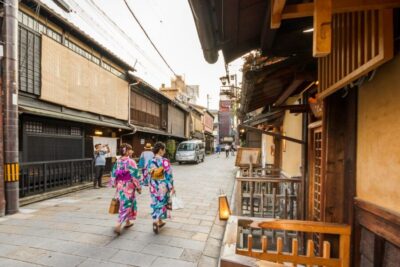 ★ 4.5Evening choiceNight Walk in Gion: Kyoto’s Geisha DistrictFrom $212,003 reviews
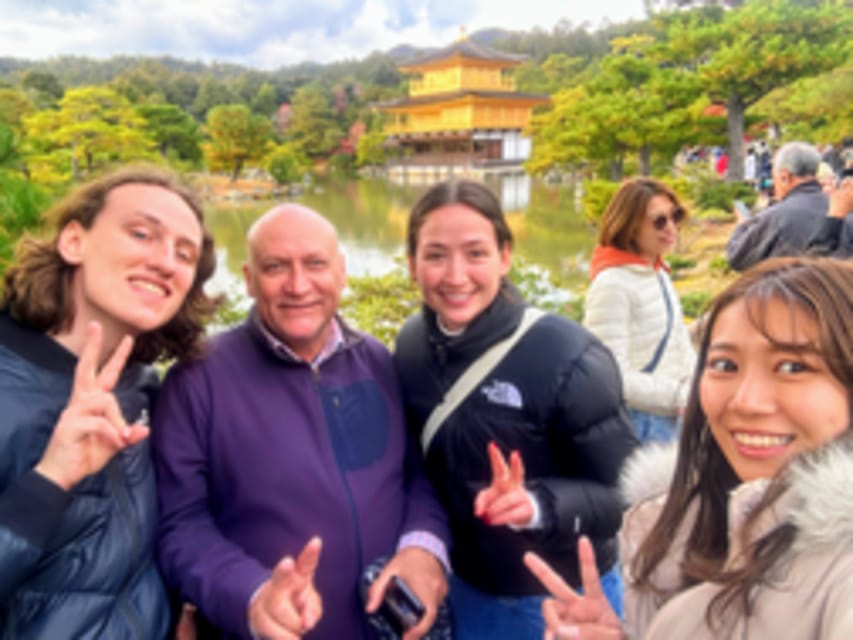
Climb beyond the first torii.
Most visitors turn back near the crowded lower gates. A well-timed route keeps climbing into quieter forest, then leaves room for a sake stop below. Compare start times, walking distance and whether the guide continues past the main viewpoint.
Choose the movement before the sights.
A bus maximises landmarks, a private guide protects flexibility, and an e-bike finds the connective streets between them. The right format decides how much of Kyoto feels rushed.
 The whole city, one day
A guided city loop
from $129 · 13,518 reviews
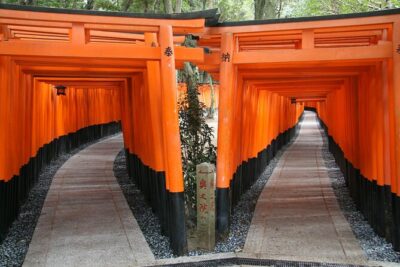
Fushimi Inari, Kinkaku-ji and Arashiyama sit far apart. A bus or private vehicle makes that ambitious loop possible, but the trade is less time on foot. Choose it when breadth matters more than lingering.
Compare city loops →
The whole city, one day
A guided city loop
from $129 · 13,518 reviews
Fushimi Inari, Kinkaku-ji and Arashiyama sit far apart. A bus or private vehicle makes that ambitious loop possible, but the trade is less time on foot. Choose it when breadth matters more than lingering.
Compare city loops →
 At your own pace
Your own walking pace
from $102 · 1,543 reviews
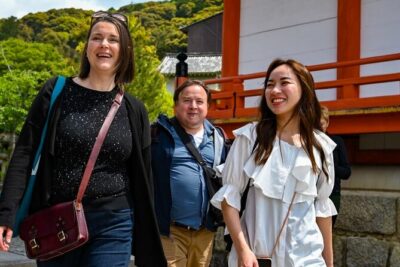
A private guide can keep a family together, slow down at one temple, or rebuild the route around rain. Confirm whether transport is included and whether the quoted time starts at your hotel.
Compare private guides →
At your own pace
Your own walking pace
from $102 · 1,543 reviews
A private guide can keep a family together, slow down at one temple, or rebuild the route around rain. Confirm whether transport is included and whether the quoted time starts at your hotel.
Compare private guides →
 On two wheels
Riverside by e-bike
from $116 · 1,843 reviews
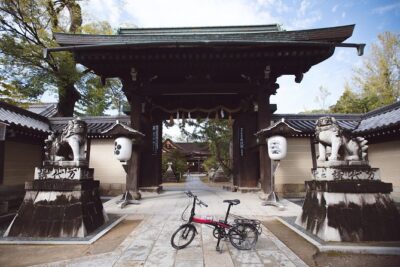
Central Kyoto is flatter than the temple hills suggest. An e-bike links riverside paths, back lanes and smaller shrines while avoiding the busiest bus corridors. Check the hill profile and minimum rider height.
Compare bike routes →
On two wheels
Riverside by e-bike
from $116 · 1,843 reviews
Central Kyoto is flatter than the temple hills suggest. An e-bike links riverside paths, back lanes and smaller shrines while avoiding the busiest bus corridors. Check the hill profile and minimum rider height.
Compare bike routes →
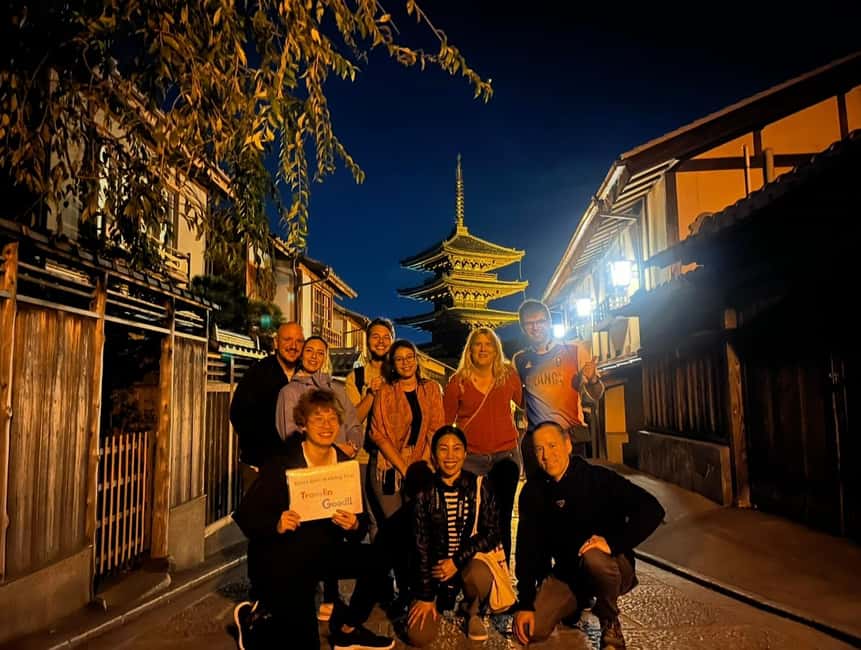
Let Gion become an evening walk.
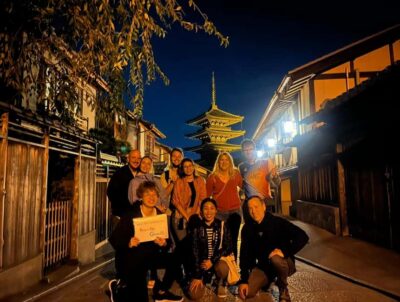
At dusk, the useful details change: which lanes stay calm, where photography is restricted, and whether dinner is part of the route. A guide adds most when the experience explains the district without turning daily life into a spectacle.
Taste Kyoto in the order it wakes.
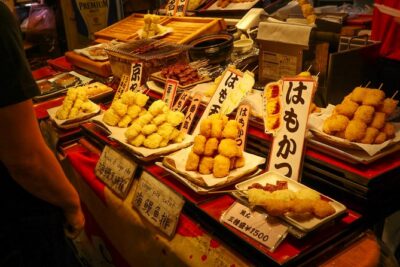
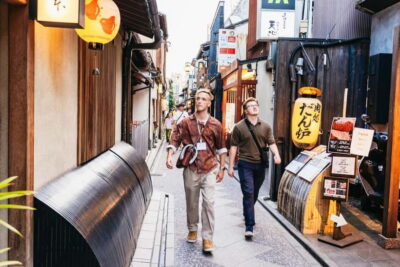
Nishiki works best before its narrow lane fills. Evening routes move to Pontocho, Gion and small sake bars, while Fushimi brewery tours make a separate half-day. Compare included tastings and the amount of seated food.
Make something you can remember.
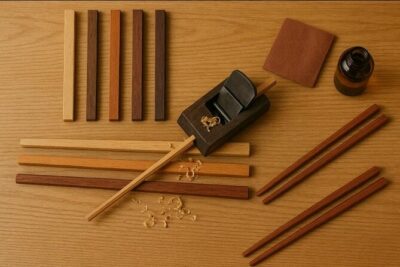
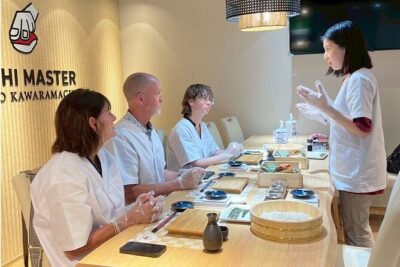
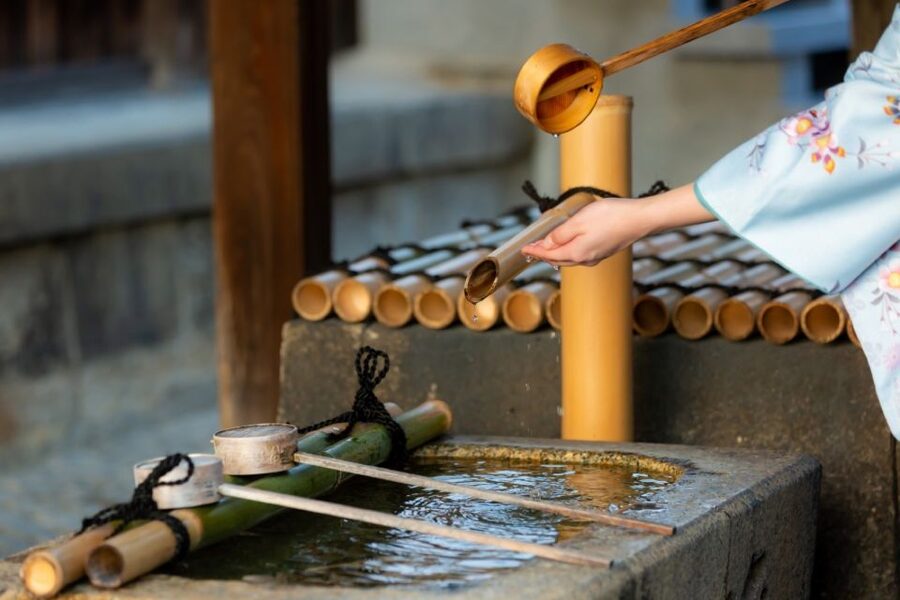
Cooking classes range from a focused ramen lesson to a full market-and-meal session. Craft workshops cover calligraphy, chopsticks, dyeing and knife work. Check the class size, language and whether the finished piece travels easily.

One garden is enough when you stay.
Kyoto rewards selection. Pair Kiyomizu-dera with the eastern lanes, Nijo with the palace quarter, or Kinkaku-ji with the northwestern temples. A smaller route creates time to notice the garden, timber and changing light.
Keep the day on one side of the city.
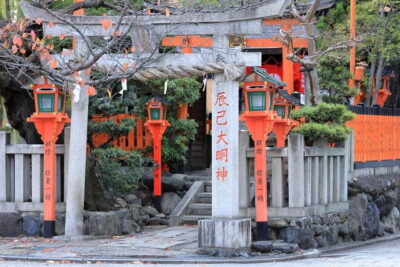
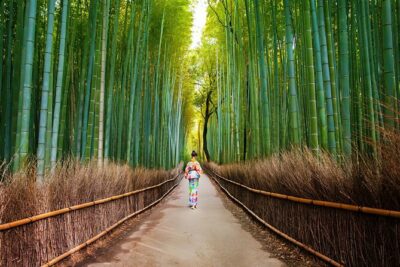
Higashiyama carries the temple slopes into Gion. Arashiyama combines bamboo, river and gardens. Fushimi connects the shrine climb with sake. Choose the pocket first, then fill it.
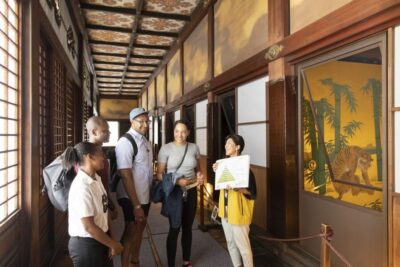
Trade another landmark for a skill.
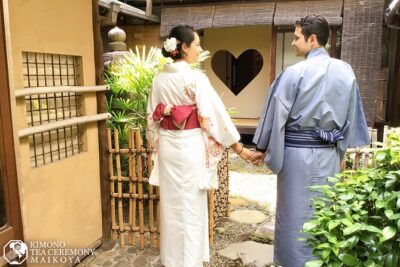
Tea, cooking, cycling, craft and evening walks give the itinerary a different texture. Compare the actual activity, not just the neighbourhood in the title.
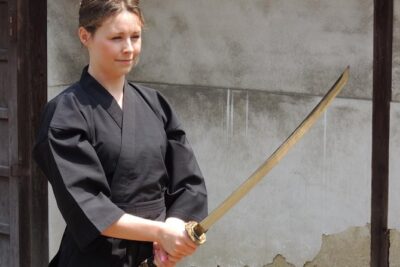
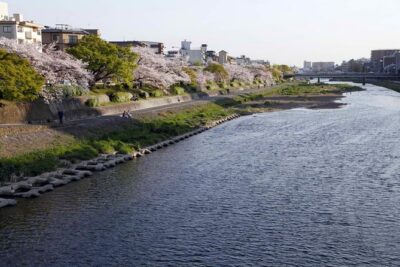
Pick one direction for the day.
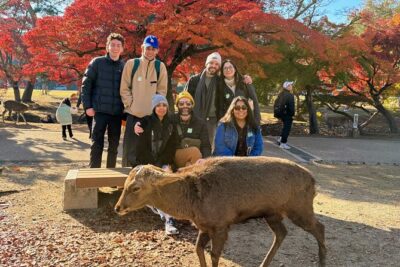
Nara combines park, temple and deer; Uji is a shorter tea-focused escape. Himeji and Hiroshima demand earlier trains and a clearer timetable. Check whether rail tickets and station transfers are included.
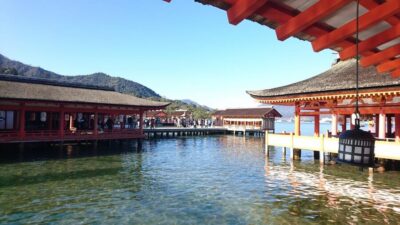
East, west, then south.
This order keeps long cross-city transfers out of the middle of each day. It also leaves room to slow down when a garden, market or tea room deserves more time.
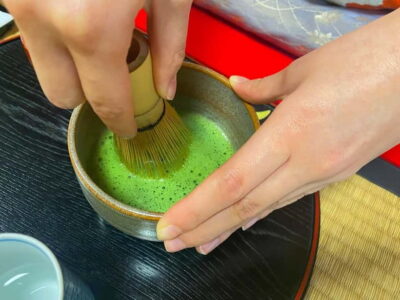 Day 1
Higashiyama into Gion
Begin above Kiyomizu-dera, descend through the old lanes, and finish near Gion. A tea ceremony gives the afternoon a natural pause.
Plan day one →
Day 1
Higashiyama into Gion
Begin above Kiyomizu-dera, descend through the old lanes, and finish near Gion. A tea ceremony gives the afternoon a natural pause.
Plan day one →
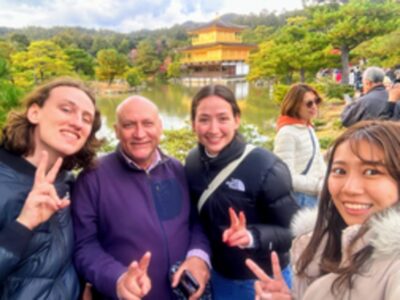 Day 2
Arashiyama and the northwest
Reach the bamboo early, keep time for the river or a garden, then cross to Kinkaku-ji only if the transport still leaves a calm afternoon.
Plan day two →
Day 3
Fushimi before the day trip
Start through the torii while the lower trail is quiet. Continue into Fushimi for sake, or use the same rail line to carry the day onward to Nara.
Plan day three →
Day 2
Arashiyama and the northwest
Reach the bamboo early, keep time for the river or a garden, then cross to Kinkaku-ji only if the transport still leaves a calm afternoon.
Plan day two →
Day 3
Fushimi before the day trip
Start through the torii while the lower trail is quiet. Continue into Fushimi for sake, or use the same rail line to carry the day onward to Nara.
Plan day three →
Fresh routes and experiences.
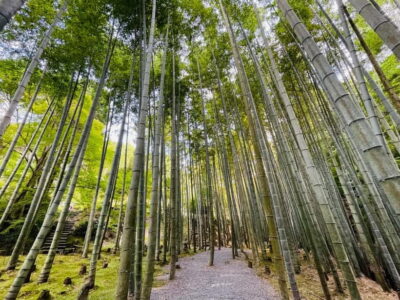 ★ 5.0True Kyoto Avoid the crowds E-Bike TourFrom $883 reviews
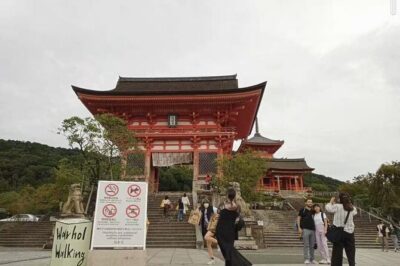 ★ 5.0Private Transfer Between Kyoto and Kansai Airport KIXFrom $2273 reviews
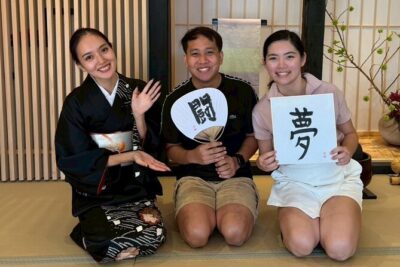 ★ 5.0【OKADA】Kyoto Japanese calligraphy experience (shodo)From $453 reviews
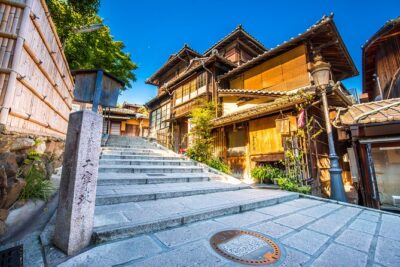 ★ 5.0Private Day Tour in Osaka and Kyoto with charter carFrom $5393 reviews
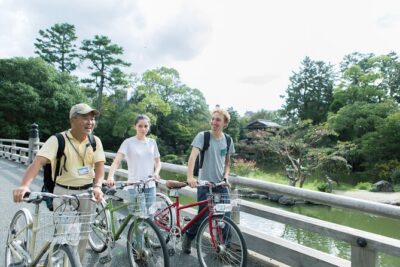 ★ 5.0Kyoto in a Day by eBike: The Best Bits Tour (East Course)From $2473 reviews
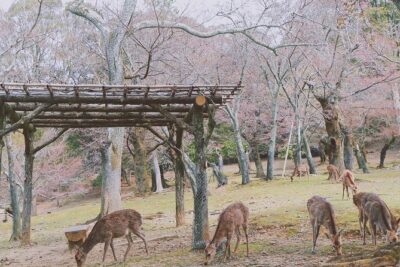 ★ 5.0Nara Private Customizable Half Day TourFrom $1603 reviews
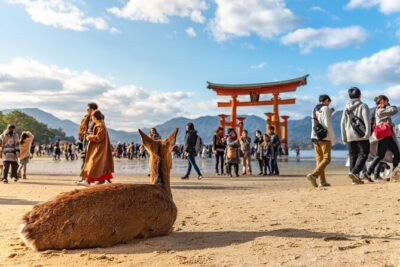 ★ 5.0Hiroshima and Miyajima Full-Day Tour from Kyoto by Bullet TrainFrom $1193 reviews
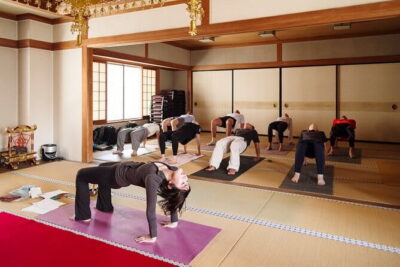 ★ 5.0Sacred Temple Yoga Experience in JapanFrom $563 reviews