
Reviewed · FUSHIMI INARI SHRINE TOURS
Guided Photoshoot of Fushimi Inari Shrine and Secret Bamboo Grove
Torii gates are great, until you need photos. This guided shoot turns Kyoto’s most famous shrine and a secret bamboo area into an easy, photo-focused plan. What I like most is the private session pacing and the fast delivery of professionally edited images. The only real catch is the time limit, about 60 minutes, so you’ll want to show up ready to move.
I also like that your guide is Hugh Dornan, and he’s known for being patient and flexible when schedules shift. He’ll guide you through poses plus natural candid moments, which is exactly what you need at Fushimi Inari where the crowd pattern can change minute to minute. The route also leans into the atmosphere, not just snapping the postcard.
One more practical win: you can request vintage Japanese fans and umbrellas to add texture to your portraits. Afterward, you get edited files sent through Google Drive within 1 to 3 days, plus an option for RAW files for an extra fee.
Key highlights you’ll actually care about
- Private booking, solo or couples: your session stays focused on you, not a camera assembly line
- Fushimi Inari first, then a secret bamboo grove: two very different backdrops in one hour
- Pro pose guidance plus candid moments: you’ll get both clean portraits and lived-in travel photos
- 50+ edited shots solo, 70+ for couples/groups: a real selection to choose from
- Optional RAW files: extra creative control if you edit photos yourself
- Fans and umbrellas on request: simple props that make images feel more Kyoto
Entering Fushimi Inari Station, starting with the right energy
Meet at your chosen Fushimi Inari Station option, near both JR and Keihan connections, then head out with your guide. The vibe here matters. Fushimi Inari isn’t just a sight, it’s a flow of foot traffic, and that flow can bully your timing if you freestyle it.
With a guided shoot, you start with direction, not guesswork. You’ll get taken to the shrine entrance area first, where you can build your look around the red and gold details, plus the fox statues that define the place. That early stage is where you can relax into posing, because you’re not yet deep into the famous tunnel of Torii gates.
If your goal is photos that look intentional, this approach helps. You’re not standing around trying to find the perfect angle while people pass behind you. The session is built to keep you moving with purpose.
You can also read our reviews of more guided tours in Kyoto
Fushimi Inari’s Torii gates, photographed like a story
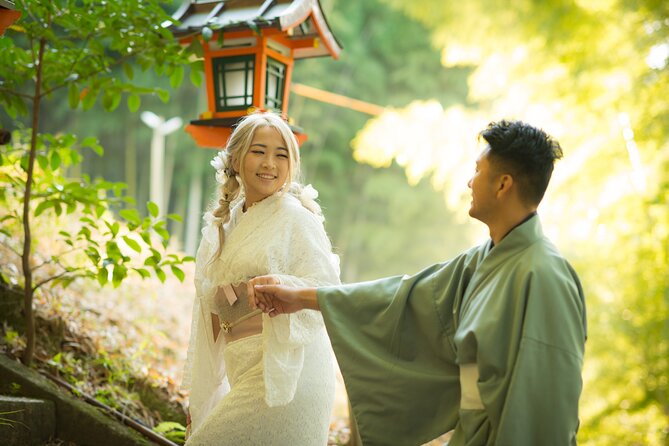
The shoot focuses on a classic Fushimi Inari sequence, but with a photo-first mindset. You’ll work your way through the entrance and initial shrine areas with a mix of posed frames and candid moments. In other words, you’re not only doing forced smiles, you’re also getting images that feel like you were actually there, walking, pausing, and noticing details.
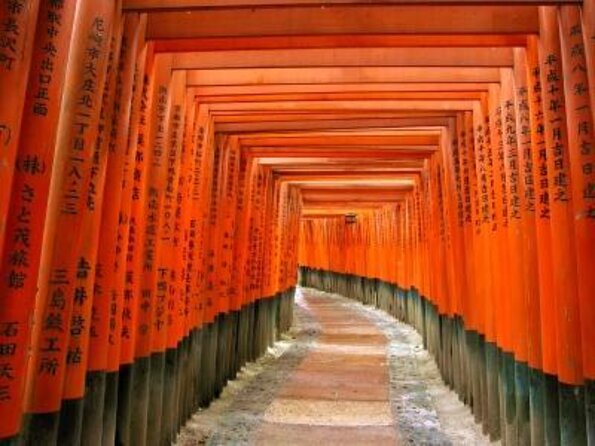
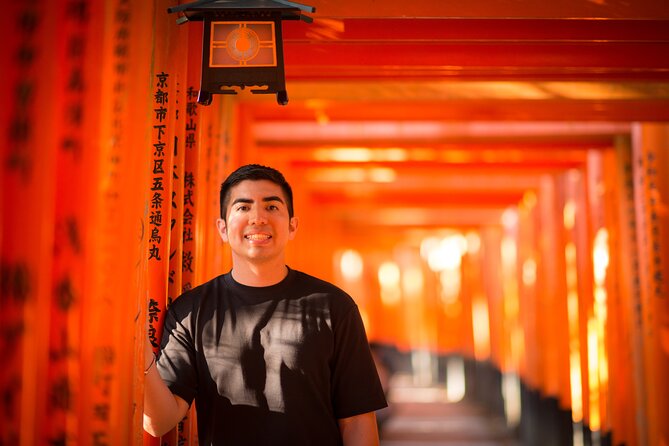
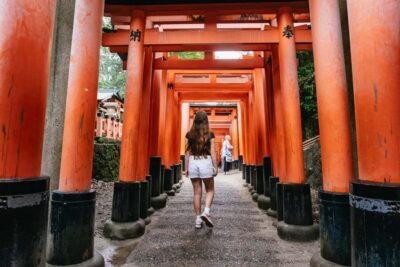
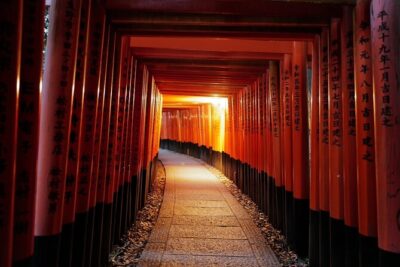
Then comes the part most people come for: the Torii gates. You’ll capture the famous red corridors with you in frame, whether you’re solo, bringing a partner, or doing a small group session. You’re guided to “set” your position, so you can see the gates behind you in a clean line, not cut off by random bodies.
Practical note: Fushimi Inari can feel packed, so your guide’s job is to help you find workable spots and keep you photographing even when the crowd density shifts. There’s also a clear benefit to having someone who can communicate politely in Japanese to get you space for a quick shot.
The shrine details: fox statues, red-and-gold tones, and temple textures
At Fushimi Inari, the best portraits aren’t only about the Torii tunnel. They’re also about the smaller visual signals that scream Kyoto. During your guided stretch, you’ll spend time in the entrance area and around the shrines where red and gold elements show up clearly.
Here’s why that matters for your photos: Fushimi Inari has one dominant color, red Torii. If every photo is only red corridors, your album can start to feel repetitive. Adding frames near fox statues and ornate sections gives your set variety, so your pictures feel like a sequence instead of a single landmark.
You also get brief history and local context along the way. It isn’t a lecture, it’s the kind of background that helps you pose with confidence. When you know what you’re looking at, you tend to relax, and that shows in the photos.
Moving from Torii to the secret bamboo grove
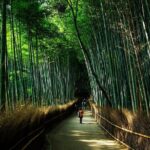
After the shrine portion, you switch scenes to a quieter, more peaceful bamboo area. The idea is simple: two contrasting backdrops in one session. Fushimi Inari gives you icon-level drama. The bamboo grove gives you calm, soft visual rhythm.
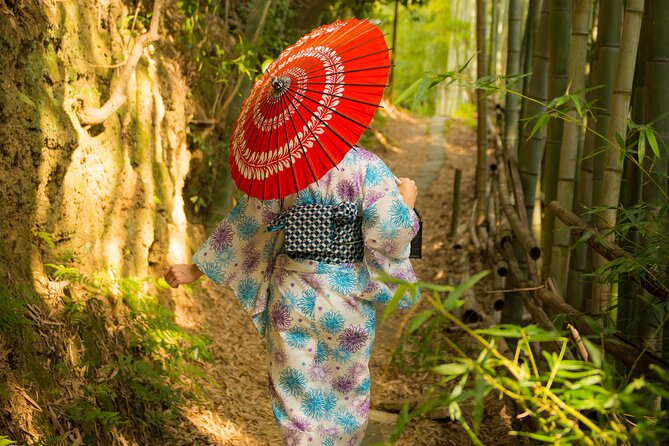
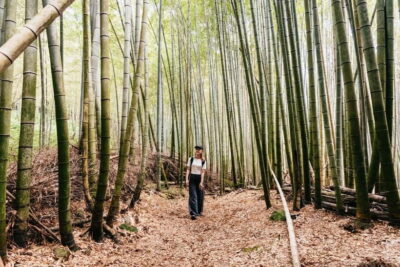
This part is designed for photos that are harder to get in more famous bamboo locations that can be overcrowded. Instead of fighting for a clear view, you’re guided toward areas that let the bamboo and lantern-like elements show up properly. You’ll also find red Torii gates mixed into the bamboo setting, so you still get that Kyoto signature while changing the mood.
In practical terms, this is where the session becomes more “portrait” and less “line up behind Torii and hope for the best.” Bamboo creates natural layers. It also gives you background depth, so your subjects feel separated from the crowd.
If you want variety in your final gallery, this bamboo stop is a big reason the shoot is worth booking. It’s one session, two different atmospheres, and you’re not spending your day hopping between distant spots on your own.
Pose coaching that keeps your photos natural
A good travel photo guide does two things at once: they help you pose, and they help you stop overthinking the pose. Hugh’s approach is built around that second part. You get guidance for different positions, but you’re also encouraged to create natural candid moments.
That combination shows up in what people tend to love most: people feel comfortable, then the final photos look like them. One review even highlighted how communication and politeness helped when people were nearby, which matters at shrine locations where strangers constantly drift into the background.
You don’t need to come with a Pinterest plan. You can come with a goal, like honeymoon photos, family portraits, a pregnancy announcement, or just couples shots that feel genuine. The guide handles the route and the visual structure, while you bring the relationship and the outfits.
And yes, if you have rented a kimono somewhere else, the shoot can work with that too. The important thing is that the session is designed to adapt to what you’re wearing, so your images don’t feel like they were forced for a single outfit type.
You can also read our reviews of more photography tours in Kyoto

The fan and umbrella extras that make a difference
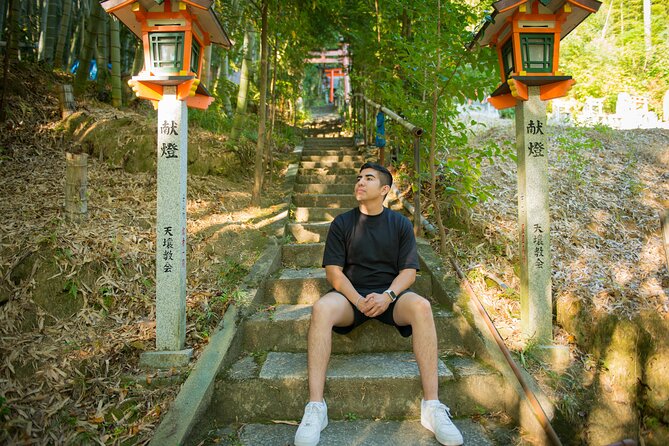
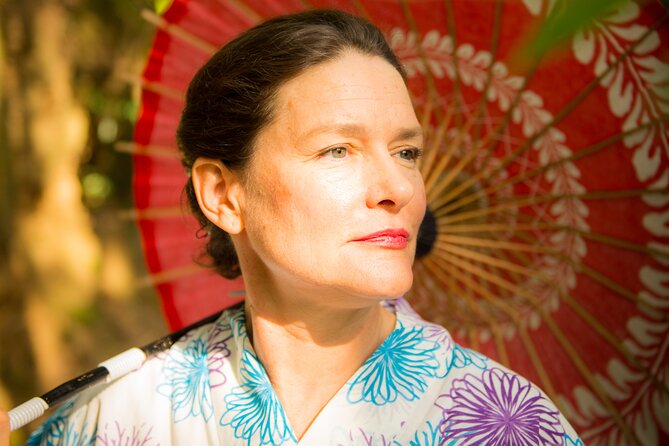
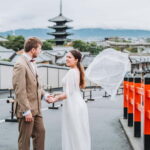
This is the fun part, and it’s also surprisingly useful. You can request vintage Japanese fans and umbrellas for use during your session. They add shape and texture to your frame, and they give you something to do with your hands other than clench a phone.
Because they’re offered on request and described as a limited offer, it’s smart to ask when you confirm details. Think of it like traveling with small props that instantly make your portraits look more intentional without feeling staged.
Even if you choose not to use them, the guide’s job is still to get you set up for those Torii lines and bamboo layers. The props are a bonus, not the foundation.
How the photo editing and delivery actually works
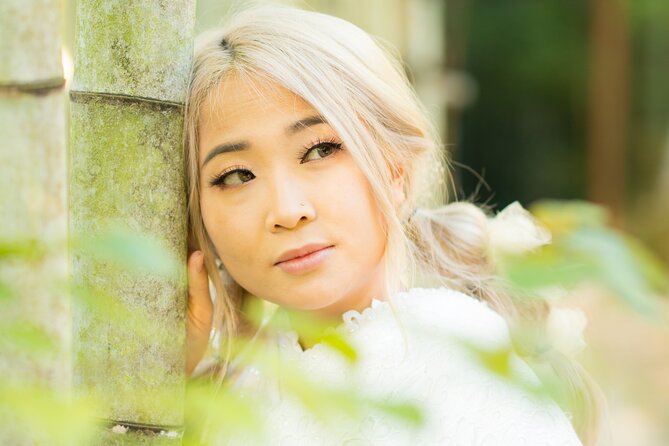
The end result is what you’re paying for, so here’s the clear picture: you’ll receive professionally taken and edited images in JPEG format. For solo shoots, you get 50 professionally taken and edited shots, and the offer says you’ll receive 60 plus for couples. The description also says the photographer will always try to add extras, so you should expect a solid amount of selectable images.
Editing is included, and the images are delivered via Google Drive 1 to 3 days later. That short turnaround is a real quality-of-life win. You’re not waiting weeks to share your photos or build an album while the trip is still fresh.
If you’re the type who likes deeper editing, there’s an option for RAW files for an extra 5000 yen. RAW can be great if you know what you’re doing with color and exposure, but if you just want beautiful ready-to-share files, the included JPEG set covers the basics very well.
Price and value for a one-hour private shoot
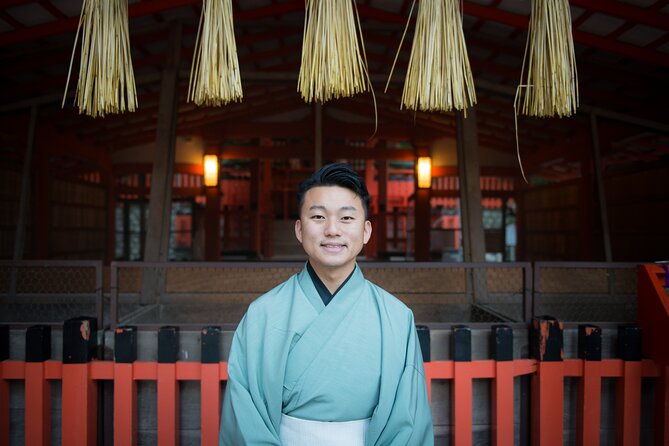
At $98.81 per person, this isn’t a bargain price, but it also isn’t priced like a full-day professional production. You’re paying for four things that matter in Kyoto photography:
First, you get a private session, which usually means you’re not squeezed into someone else’s schedule. That time control is valuable at Fushimi Inari.
Second, you’re getting a designed route: shrine details, then bamboo, then the Torii sequence. That routing is hard to replicate on your own if you care about background cleanliness and composition.
Third, you’re getting a large batch of edited photos delivered quickly. Many people underestimate how much editing time is required to turn good shots into great ones that look consistent as a set.
Fourth, you get the human part: posing help and crowd-awareness. Even the best composition struggles when people step into frame at the wrong moment. Having someone who can move you and coordinate politely can save your session.
If you’re the kind of traveler who ends up with 10 decent photos out of 200 taken, this format is built to fix that. If you love shooting on your own and only want a few souvenir images, you might decide to keep things DIY. But if photos are part of why you travel, the value is easier to justify.
Who should book this shoot
This experience fits best if you want memorable portraits at iconic Kyoto locations, without spending hours figuring out angles, timing, and backdrops. It’s a strong fit for:
- Couples who want Torii gate photos plus a softer bamboo mood in one go
- Families who want coordinated shots without splitting into multiple mini photoshoots
- Solo travelers who like being photographed and want more than one strong viewpoint
- Anyone planning an announcement photo, like pregnancy, or a special trip moment
It’s also ideal if you want your travel time respected. You get about 60 minutes, then you’re done. That makes it easier to build the rest of your Kyoto day plan.
Quick logistics that set you up for success
You’ll use a mobile ticket, and you’ll meet at Fushimi-Inari Station area, with the option to choose JR or Keihan. The shoot ends back at the meeting point, so you’re not left navigating an awkward finish location.
Time matters here. Because the session is only about an hour, being late is the fastest way to reduce the number of compositions you can get. One reason people seem to love Hugh is that he’s shown patience and flexibility when timing changes, but you still shouldn’t rely on that as your strategy.
Weather also matters. The experience requires good weather, and if it gets canceled due to poor conditions, you’ll be offered a different date or a full refund. If you’re traveling in rainy season, keep your schedule flexible when possible.
Tips to get the best photos in only one hour
You’ll get the most out of your session if you plan like a photographer.
Wear comfortable shoes. You’ll be walking between areas and repositioning for frames. Bring an outfit that feels good in both shrine colors and bamboo tones. Red Torii will amplify warm colors, and bamboo often looks best with outfits that contrast gently.
If you want fans or umbrellas, ask for them. They can change your final gallery quickly.
Also, decide in your mind what you want the set to communicate: romance, family togetherness, or just you enjoying Kyoto. When you have that clarity, it’s easier for the guide to direct posing and pacing.
Finally, arrive at the meeting point ready to go. This is a “move and shoot” style session. Treat it like a short, focused photo appointment, not a sightseeing walk.
Should you book this Fushimi Inari and bamboo photo shoot?
If you care about portraits, this is a smart use of time. The combination of Fushimi Inari, a quieter bamboo grove, and guided pose coaching makes the difference between tourist snapshots and a gallery you actually want to keep.
I’d skip it only if photography is not a priority for your trip, or if you want to spend your hour wandering completely unscripted. For DIY sightseers who only need a few quick pictures, you could probably manage it without a guide.
But if you want icon-level Kyoto photos with minimal stress, and you’d rather pay for someone else to handle the crowd timing and composition, booking this shoot is an easy yes.
FAQ
Where is the meeting point for this photoshoot?
You meet at Fushimi-Inari Station area in Kyoto, with the option to choose JR or Keihan Fushimi Inari Stations.
How long is the guided photoshoot?
The photoshoot is about 1 hour.
What’s included in the photo package?
You get 50 or more professionally edited photos for solo sessions, or 70 of the best professionally edited photos for couples or groups. Brief history and information about the area is included too.
How will I receive the photos, and when?
Your edited images are sent via Google Drive 1 to 3 days after the session.
Can I use fans or umbrellas during the shoot?
Yes. You can request vintage Japanese fans and umbrellas for free use during the session, based on limited availability.
Is kimono rental included?
No. Kimono rental is not included.
What is the option for RAW files and the cancellation terms?
RAW files are available for an extra 5000 yen. The experience can be canceled for a full refund if you cancel at least 24 hours in advance, and it is weather dependent, with an alternate date or full refund if canceled due to poor weather.
More Photography Tours in Kyoto
More Guided Tours in Kyoto

More Tour Reviews in Kyoto
Not for you? Here's more nearby things to do in Kyoto we have reviewed



Fushimi Inari Shrine Tours, compared.
 ★ 4.8Fushimi Inari, Kinkakuji, Bamboo Grove 1 Day Bus TourFrom $1224,316 reviews
 ★ 5.0Fushimi Inari Hidden Hiking Tour (Private Option Available)From $631,750 reviews
 ★ 4.7Kyoto/Osaka: Nara, Fushimi Inari Taisha, Arashiyama Bus TourFrom $521,275 reviews
 ★ 4.4Osaka/Kyoto: Arashiyama, Nara & Fushimi Inari Shrine w/LunchFrom $61754 reviews
 ★ 4.7Nijo Castle, Kiyomizu & Fushimi Inari Guided TourFrom $54700 reviews
 ★ 5.0Nijo, Kinkaku-ji, Arashiyama, Kiyomizu & Fushimi InariFrom $51699 reviews
 ★ 5.0Kyoto Fushimi-Inari Night Walking TourFrom $43320 reviews
 ★ 4.93-Hour Fushimi Inari Shrine Hidden Hiking TourFrom $72270 reviews
Browse the lists this tour appears in