
Reviewed · PHOTOGRAPHY SESSIONS
Kyoto Photography Masterclass – Private Photography Lesson
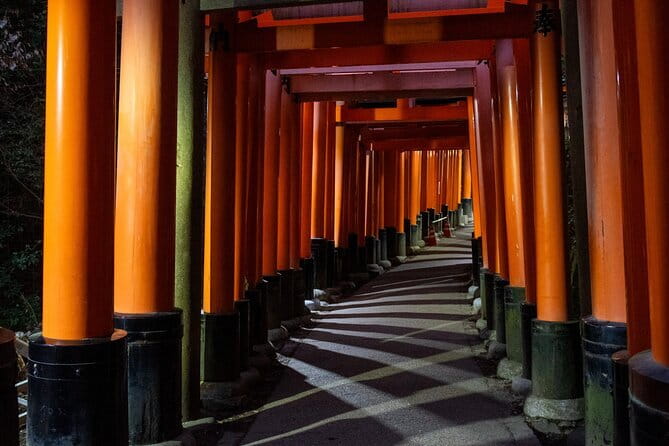
Kyoto at night turns into a photo school of its own. I like how this private coaching pushes you into real shooting spots fast, and I especially like the night photography practice that turns lantern light into clear, story-driven images. The main drawback to consider is that this is a skills lesson, not a sightseeing bus, so you’ll get the most value if you’re ready to work with camera settings and do short repeats.
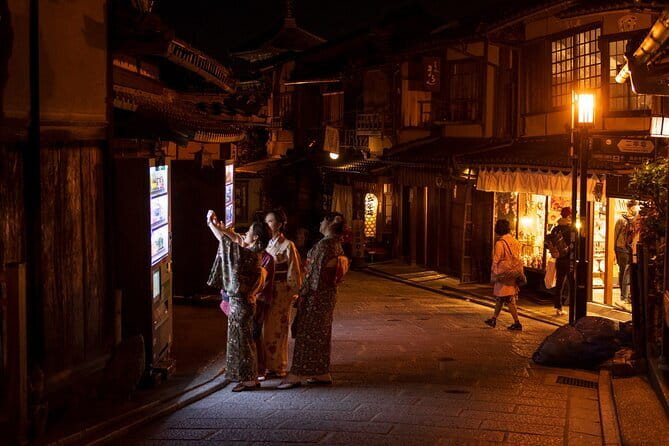
In about 3 hours, you’ll move through classic Higashiyama scenes, from Gion’s wooden streets to the glow of Pontocho and the night-lit view around Kiyomizudera. I also appreciate that you can get a tripod upon request, which is a big deal when you’re learning long exposures. If you show up with a fully automatic camera, you can still participate, but you may need a bit more patience with the lesson pace.
Key things that make this masterclass work
- Private, step-by-step direction for framing, camera settings, and what to shoot next
- A night-first skill focus that tackles long exposures and mixed light
- Prime Kyoto photo stops in a tight route, built for walking and shooting
- Tripod support if you request it, which helps night images dramatically
- Small-group feel without crowds in your class, so you can ask questions and reset shots
Where the lesson starts: Gion’s first frames and fast orientation
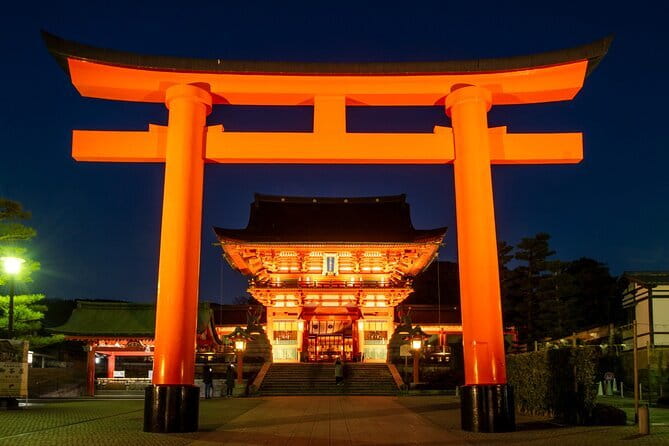
Your experience kicks off at the Statue of Izumo-no-Okuni near Kawabatacho in Higashiyama. That matters because it gets you into the Gion rhythm quickly, with streets that naturally offer strong leading lines and layered textures. You’re not wasting time arguing with navigation or trying to guess where the light will land.
I like that the walk is built around shooting moments rather than checkpoints. You’ll likely do quick “try this” experiments, then adjust and try again, which is the fastest way to learn when you’re standing in Kyoto and the light is changing minute by minute. The goal is to help you get your bearings fast and start making intentional frames.
You can also read our reviews of more private tours in Kyoto
Gion Corner and Minamiza Theater: learning composition in Kyoto’s human scale
From early Gion streets, you’ll work toward Gion Corner and the Minamiza Theater area. These stops are useful because they’re packed with visual details, signage, and architecture you can frame with both wide shots and tighter compositions. If you’ve struggled with street photography, this is the kind of area where you can learn how to simplify a scene, then add structure back in through perspective.
Here’s the trick I recommend you practice: choose one subject, then decide what role the surroundings play. Do you want the background to support the scene with soft repetition, or do you want it sharp so it reads like a place? A good instructor will push you to make that choice instead of letting the camera decide.
A possible consideration: the streets can get busy, even if the class is private. If you’re sensitive to crowds, keep your expectations realistic and focus on the small windows where the composition clears.
Pontocho District: turning lantern light into readable night photos
Next up is Pontocho District, one of Kyoto’s most photogenic stretches when the light drops. The reason this area is perfect for a masterclass is the mix of illumination: traditional lantern glow, darker lanes, and reflective surfaces that can either look magical or turn into messy glare. This is exactly the kind of environment where you learn how to control exposure rather than just “make a longer shutter and hope.”
For night photography, you’ll get coaching on the basics that actually matter. Think about long exposure timing, how bright points of light behave, and why your shutter choice changes the story of motion and mood. The lesson also focuses on making each photo tell something about Kyoto’s nighttime character, not just documenting lights.
If you want standout results, this is where you’ll benefit from repeating the same shot with small changes. Even a one-step adjustment can move you from overexposed highlights to a clean lantern glow with detail.
Yasaka Shrine and Hokan-ji Temple: patterns, depth, and focus points
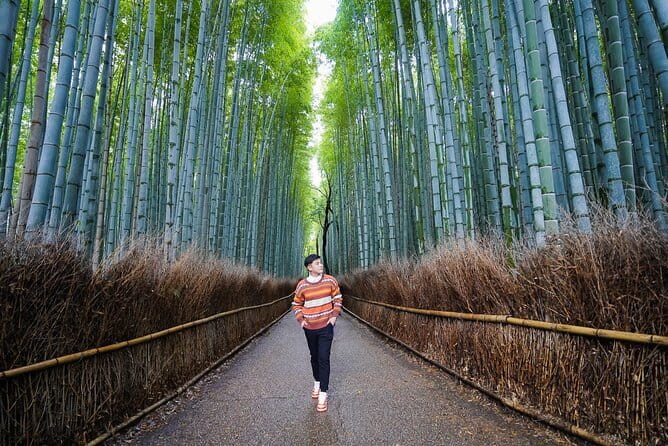
From Pontocho, the route shifts toward Yasaka Shrine and then Hokan-ji Temple. These stops are strong for learning depth because they naturally offer layered views: foreground edges, mid-ground structures, and background cues that guide the eye. You can also practice focus strategies, especially when night lighting creates multiple bright zones.
At this point in the lesson, you’ll likely start to “see” frames differently. Instead of photographing what’s in front of you, you’ll start composing with spacing and repetition, like where shadows fall and how lines converge. That’s what makes your photos feel intentional instead of random.
A practical note: religious sites often have areas where you must be careful about where you place yourself. Keep your movement respectful and stay aware of foot traffic. It’s part of getting good photos without turning the walk into a stress test.
Koju Ninenzaka steps: learning to work with texture and stair geometry
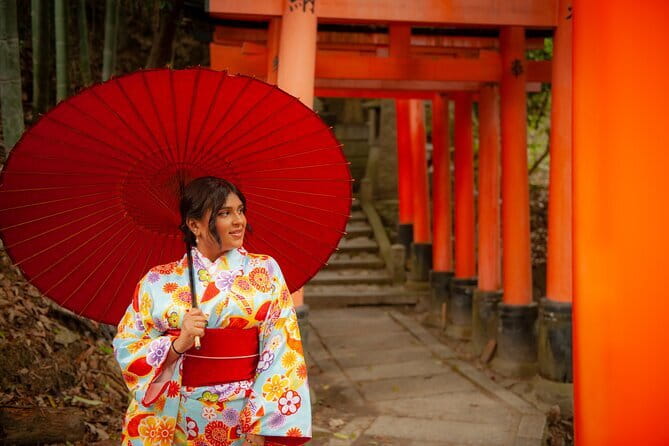
Koju Ninenzaka is where you can practice a very Kyoto skill: photographing depth on steep pedestrian paths. Stairs and sloped streets force perspective, and that’s great training because your camera has to interpret distance quickly. You can also play with leading lines, where the steps pull you toward the main subject or toward the temple-area glow ahead.
This stop is ideal if you’re learning how to frame people-less scenes, or if you want to include human presence without letting it become the only thing your photo tells. A good approach is to watch how people move through the frame, then decide if you want them frozen or blurred by your long exposure settings.
The main consideration here is footing. Night plus uneven stone steps means you should slow down for safety. A tripod helps for stability, but it also means you’ll want to set it where it won’t block others.
You can also read our reviews of more photography tours in Kyoto
Kiyomizudera at night: long exposures with story, not just settings
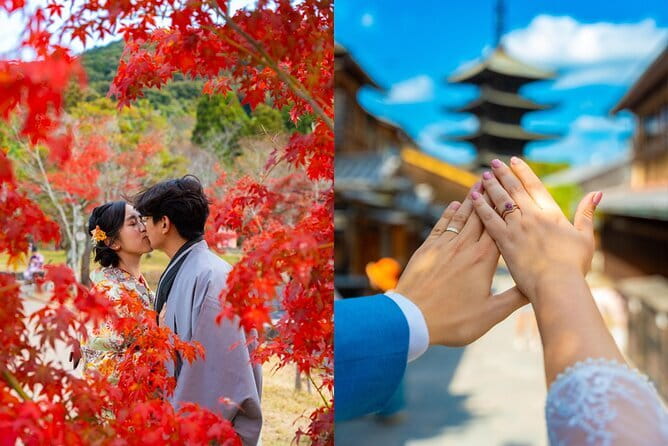
The night session comes to a highlight around Kiyomizudera, lit against the evening sky. This is the kind of place where your technical decisions show up instantly: a slightly too-long shutter can blow out bright highlights, while a too-short shutter can leave the scene looking flat. The coaching focus here is practical, long-exposure technique, and making sure your photo reads as a real moment in Kyoto at night.
One of the most valuable parts of a lesson like this is learning what to check as you shoot. You’ll want to pay attention to exposure balance, highlight control, and the way lights streak or stay crisp. The goal is not perfection on the first click. It’s improvement through quick cycles: shoot, review, adjust, reset, and shoot again.
If you’re aiming for “wow” night photos, Kiyomizudera is where your work pays off. Lanterns, temple lighting, and the layered architecture give you a lot to compose, and that’s why it’s a strong final stop for a 3-hour session.
How private coaching actually helps your camera skills
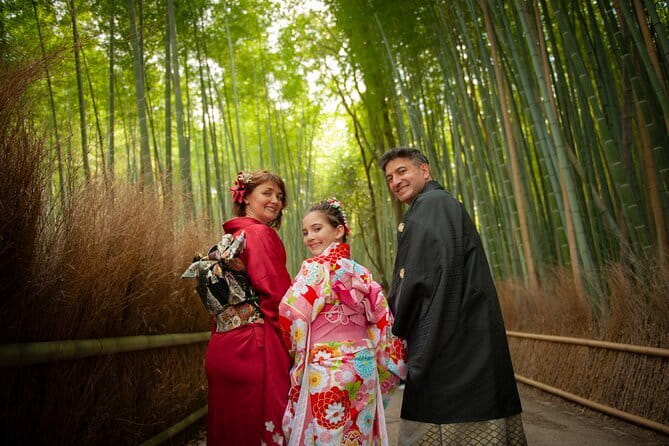
This is a private photography lesson, so the pace is controlled by your group and your questions. You get guided instruction from a professional photographer, plus a licensed English-speaking local guide. That pairing is smart because you’re not only learning camera settings, you’re also learning where to stand, what angle tends to work best, and what light you’re dealing with at that moment.
In night photography, the hardest part is often not knowing the settings. It’s knowing which setting matters most for the look you’re after. You should expect your guide to help you connect the dots between shutter speed, brightness, and the final mood, then give you a chance to repeat the idea until it clicks.
One reason this masterclass earns high marks is the teaching style. People love the patience and the way the class reviews shots and then resets for better results. That approach reduces the guessing, and it keeps you from feeling stuck.
What to bring for best results (and how to handle the tripod)
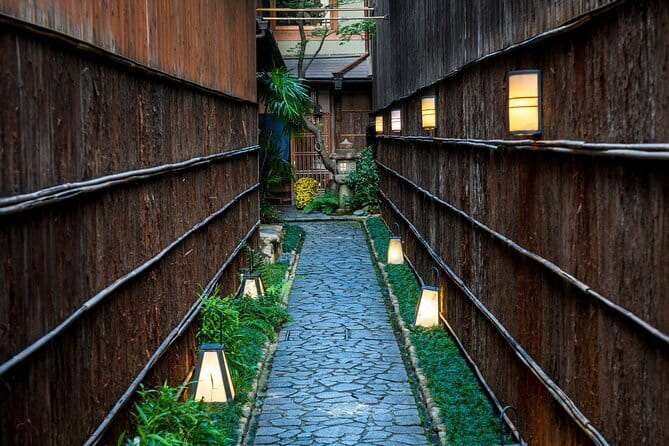
The camera is not included, so bring whatever you shoot with, from a phone (if you’re comfortable) to a mirrorless or DSLR. The lesson is designed to be accessible to most travelers, but your results will improve if you’re willing to use manual controls or at least exposure compensation.
If you have a tripod, bring it. If you don’t, you can request one. Getting tripod support makes a big difference because long exposures are hard to do consistently while walking or standing unsteadily.
Also bring practical night basics:
- comfortable, grippy shoes for steps and uneven sidewalks
- a fully charged battery, plus extra if you have it
- a way to keep your camera settings consistent between shots
If you want the lesson to run smoothly, come ready with any questions you already have about your gear.
Price and value: is $170 for 3 hours a fair deal?
At $170 per person for about 3 hours, this sits in the “pay for skill help, not mass sightseeing” category. The value comes from a few clear points: you’re getting private time with a professional photographer, you’re getting local guidance on photo angles in Kyoto, and you’re focusing on night techniques that many visitors struggle with.
If you’re trying to learn night photography on your own, you can easily spend hours chasing settings and still end up with blown-out lights or blurry results. A guided lesson compresses that learning curve, and it gives you a structured route where the light is part of the teaching.
This also helps if you already like photography but want better consistency. You’re not just taking photos. You’re learning how to repeat a look, which is what makes the difference between random shots and a strong personal style.
Also worth noting: the tour offers mobile tickets and group discounts, which can make the cost easier to swallow if you’re booking with friends.
Who should book this masterclass (and who might not)
This tour is a great match if you want stronger photos and you’re ready to work. You’ll enjoy it most if you care about composition, camera settings, and learning how to handle Kyoto’s mixed light at night.
It’s especially good if you’ve ever taken a night photo and felt like it looked good on your screen, then looked worse later due to exposure or noise. You’ll get targeted coaching to help you make night frames that look clean and intentional.
If you only want casual snapshots, you might find the “lesson” focus a bit intense. This is best when you’re interested in improving, even if you’re not an expert yet.
Should you book? My practical recommendation
Book it if you want night photos that actually look like Kyoto at night, with clear teaching on long exposures and how to control bright lantern light. You’ll get the most out of it if you bring your curiosity, your camera, and the willingness to shoot a scene more than once.
I’d skip or rethink it if you’re mainly looking for a relaxed stroll with zero camera adjustments. In that case, the price may feel steep compared to self-guided wandering.
If you do book, plan to arrive ready to learn. The route moves through iconic areas like Gion, Pontocho, and the Kiyomizudera area, and that tight focus is what makes a 3-hour masterclass feel worthwhile.
FAQ
How long is the Kyoto Photography Masterclass?
The experience is approximately 3 hours.
Is this a private tour or a group tour?
It’s a private tour/activity, so only your group will participate.
What does the price include?
It includes a local guide, a professional photographer guide, and a licensed English-speaking in-person local guide.
Do I need to bring my own camera?
Yes. The camera is not included.
Is a tripod available?
A tripod is available upon request.
Where does the tour meet, and where does it end?
It starts at the Statue of Izumo-no-OkuniKawabatacho, Higashiyama Ward, Kyoto. It ends back at the meeting point.
Do you provide instructions in English?
Yes. There is a licensed English-speaking in-person local guide.
Is there free cancellation?
Yes, free cancellation is available up to 24 hours in advance for a full refund.
More Photography Tours in Kyoto
More Private Tours in Kyoto
More Tour Reviews in Kyoto
Not for you? Here's more nearby things to do in Kyoto we have reviewed
Photography Sessions, compared.
 ★ 4.7Maiko Makeover and Photoshoot ExperienceFrom $140239 reviews
 ★ 5.0Private Photoshoot ServiceFrom $78158 reviews
 ★ 5.0Your Private Vacation Photography Session In KyotoFrom $297110 reviews
 ★ 4.9Tea Ceremony with Kimono and PhotoshootFrom $12790 reviews
 ★ 5.0Private Gion District Photoshoot ExperienceFrom $10979 reviews
 ★ 5.0Kyoto Tea Ceremony and Samurai Photo SessionFrom $7170 reviews
 ★ 5.0Private Photoshoot Experience in Kyoto ( Gion )From $13261 reviews
 ★ 4.9Private Photoshoot Experience in Arashiyama BambooFrom $12955 reviews
Browse the lists this tour appears in