
Reviewed · GION & GEISHA DISTRICT TOURS
Kimono Rental,Kimono Experience in Gion Kyoto
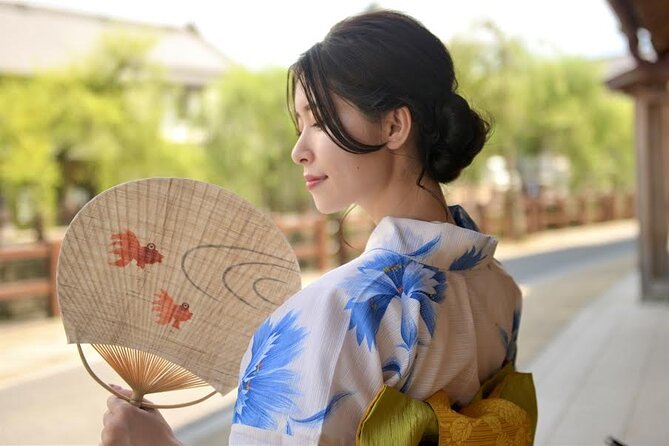
Gion turns photogenic the moment you dress up. I like the pure silk kimono styles, with looks ranging from retro and cute to Taisho Roman, so you start your Kyoto day feeling intentional, not costume-y. The shop sits so close to Gion Hanamachi and Chaya District that your first photo stops happen almost immediately.
The staff are also a real plus. You get help in Japanese, Chinese, and English, they do your basic hair, and they even handle luggage so you can keep walking hands-free. One catch to plan around is the strict kimono return by 5:00 PM, with penalties if you run late.
Key things to know before you rent a kimono in Gion
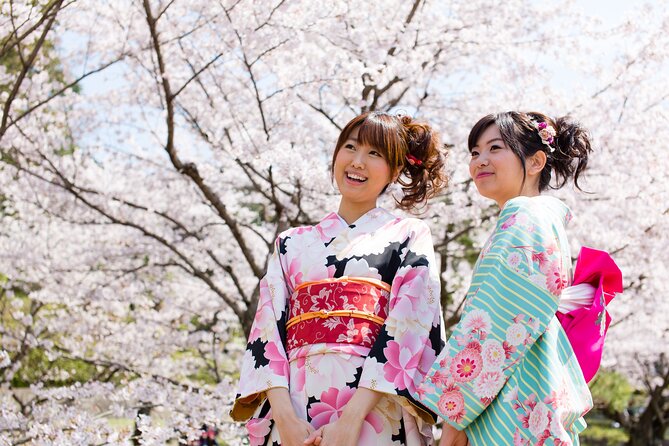
- Pure silk kimono variety: retro, classic, modern, and Taisho Roman styles, all built for a flattering fit
- A full set is included: kimono plus obi, bag, tabi, and zori, so you do not need to buy anything extra
- First-timer friendly dressing: staff assist throughout, including a basic hair styling finish
- Hair upgrades cost extra: an upgraded hairstyle and makeup are available if you want more polish
- Strict return timing: you must change out by 5:00 PM, or pay for late return
Momoka Kimono Rental in Gion: why the location matters
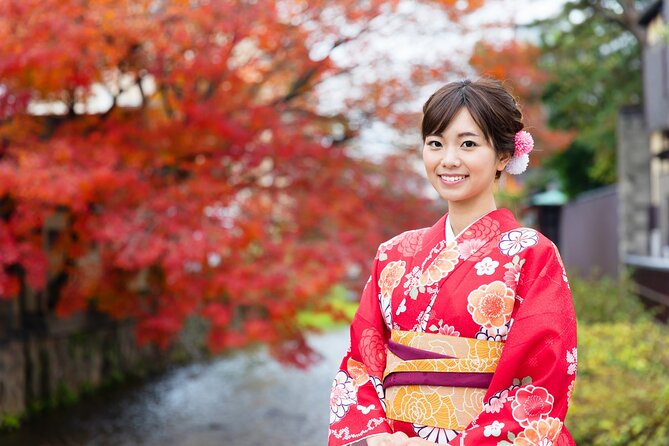
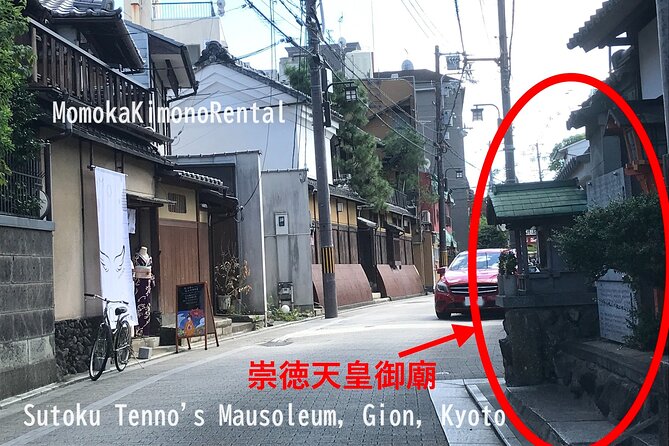
This is the kind of rental that makes your day feel efficient. The meeting point, Momoka Kimono Rental, is on Gionmachi Minamigawa, and it is less than a minute on foot from Gion Hanamachi and the Chaya District area. That proximity changes how you experience Gion. Instead of getting your kimono, then spending long minutes commuting before anything looks “right,” you get dressed and step directly into the historic streetscape.
You also get the practical benefit of being surrounded by photo-ready corners. In Kyoto, the best kimono photos usually happen the moment you leave the shop, when you have not yet rushed the day into exhaustion. Here, that timing is on your side.
Finally, the shop’s vibe is designed for first-timers. The experience is structured so you arrive, choose, get dressed, get your hair finished, and then you are free to sightsee. The staff also do the “I will take care of it” part for luggage, which sounds small until you are holding a bag, a phone, and a water bottle while trying to keep your sleeves tidy.
You can also read our reviews of more tours and experiences in Kyoto.

Price and included items: what you really pay for
The price is listed at $36.36 per person, and the plan includes everything you need to wear a kimono. That matters, because many rentals advertise a low price but then quietly charge for the basics like obi or the footwear.
In this set, you get:
- A complete rental outfit (kimono set in Basic Komon)
- Obi, bag, tabi, and zori
- Dressing service
- Basic hair styling
- Free luggage storage at the shop
Then you have optional add-ons:
- Upgraded hairstyle: ¥1,650
- Make-up service: ¥8,800
- Photography service (1 hour for up to 3 people): ¥18,700
For value, I like how clear the line is between included and extra. If you want a classic kimono day with a neat, camera-ready look, you can keep it simple. If you want a more glam transformation, the pricing for upgrades is spelled out, so you can decide based on your budget.
One more timing note that affects value: this experience can be booked well ahead, on average about 25 days in advance. That gives you a better chance at the kimono style you want, especially if you have a specific look in mind.
Dressing, obi fit, and hair styling: the part that makes or breaks the day
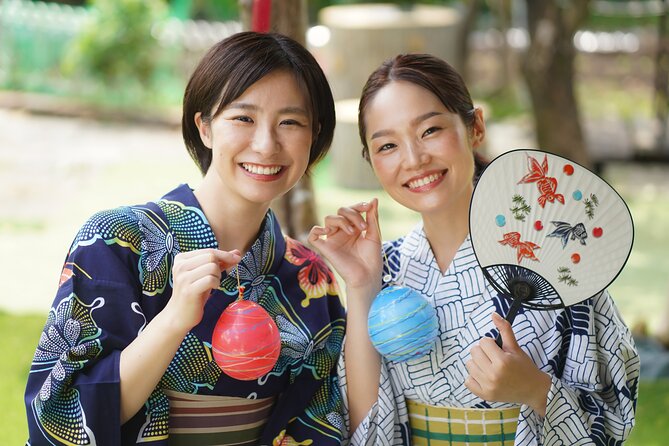
The dressing process is where good kimono rentals separate themselves from stressful ones. Here, you check in at the store, choose from a range of styles, then professional staff help you get into the kimono and obi. If it is your first time, you do not need to worry about figuring out the steps.
What I really look for is comfort and confidence. The included “basic hair style” is meant to complete the look, not just fix your hair for practicality. That is especially important in photos, since kimono sleeves, collar lines, and hairstyles all work as one visual frame.
There is also a small but meaningful bonus: the staff handle your luggage when you are finished being dressed. That means you can walk out without managing extra bags. You can focus on your route, your photos, and your pace.
Two practical reality checks from the experience details:
- Adult kimono sizing has a limit, since adult kimonos are limited if hip size exceeds 130 cm.
- Pregnancy while wearing a kimono is strictly prohibited, and the store explicitly states they will not be held responsible for health problems that result from wearing while hiding pregnancy.
If you want the most comfortable experience, be honest at check-in about sizing and fit. A kimono that fits well looks better, and you will enjoy your walking time more.
Stop 1: Yasaka Shrine in a kimono, for that instant Gion feeling
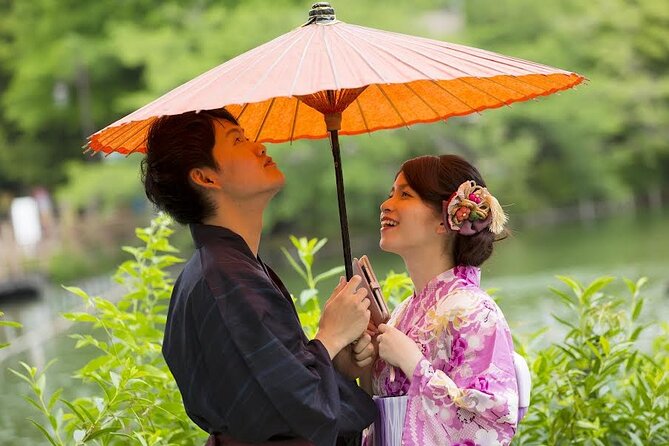
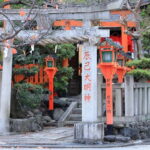
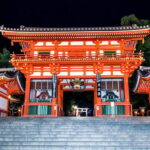
Yasaka Shrine is a natural first stop because it sets the mood immediately. Once you are dressed, you are not thinking about the outfit anymore, you are in “Kyoto mode.” A kimono at Yasaka Shrine also helps you feel the transition from modern Kyoto streets into a more tradition-focused setting.
For me, the key benefit of starting here is flow. You have just finished dressing, you likely have the most energy you will have all day, and your kimono is still fresh. This is when you get your easiest photos without rushing between outfit changes.
Practical tip: wear comfortable posture and take your time with movement. Kimono sleeves can brush things, and you will look and feel smoother if you slow down a bit for steps and turns.
Stop 2: Kodai-ji Temple, where quiet moments look better on silk
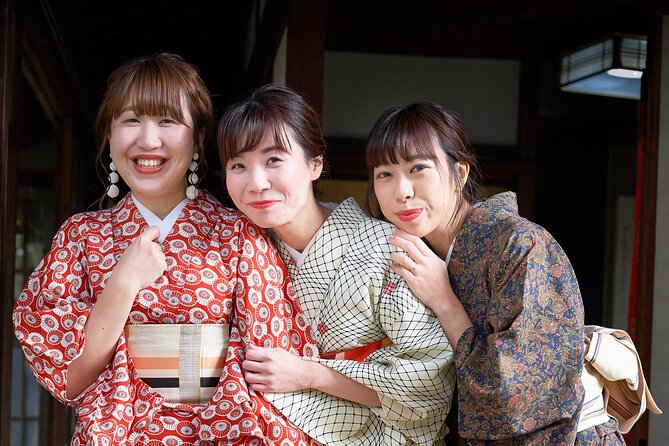
Kodai-ji is the kind of stop that pairs well with kimono pacing. After you have started your day at Yasaka Shrine, Kodai-ji gives you a different mood. It is a strong contrast to shopping streets, and it lets your outfit feel purposeful rather than purely decorative.
From a photo standpoint, you get that classic Kyoto look where traditional clothing and temple scenery belong together. The staff styling helps too. Even with basic hair included, your overall look reads cohesive.
One consideration: temple visits can mean you spend some time walking on uneven ground or lingering in spots to frame photos. With a kimono, that is doable, but it is smarter to wear a calm pace and keep your bag position simple.
Stop 3: Kiyomizu-dera, classic views and the best photo angles
Kiyomizu-dera is one of the most recognizable names in Kyoto, so it makes sense that it is on the route. A kimono here gives you that “I am in the story” feeling that even seasoned Kyoto travelers chase.
The value of having your outfit already sorted is huge. If you tried to visit Kiyomizu-dera without a plan, you would spend time figuring out how to dress, where to go, and where to store your belongings. Here, you arrive already set, then sightsee like everyone else, just with more style.
Photo tip that actually helps: plan for a mix of wide shots and close-ups. The kimono patterns and obi folds look best when you capture the full outfit, then switch to detail shots when you are standing still long enough for crisp framing.
Stop 4: Kennin-ji Temple, a slower turn before Gion streets
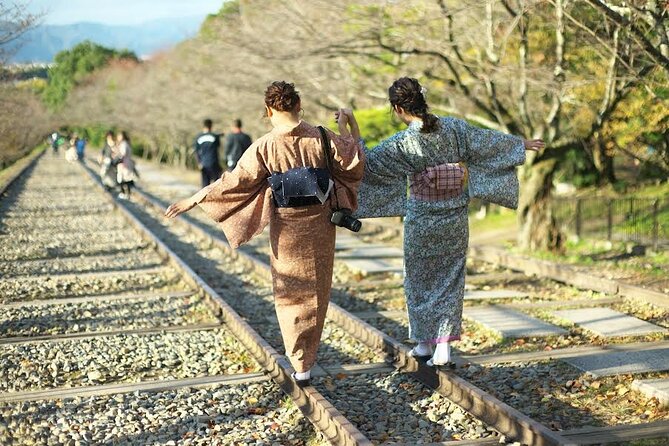
Kennin-ji works well late in your temple stretch. It is a spot where your kimono starts to feel like it belongs to the landscape, not like you are wearing something new. By this point, you have had time to get used to the way the sleeves move and how to walk without fuss.
This is also where I suggest paying attention to your energy. A kimono day is fun, but it is still a full day outfit. If you take water breaks and keep your movements steady, you will be able to enjoy your final Gion walk instead of feeling rushed.
Since the route ends with Gion, Kennin-ji is a good moment to settle into a slower rhythm before you hit streets where you will want to stop for photos and snacks.
Stop 5: Gion streets after temples, your final kimono walk
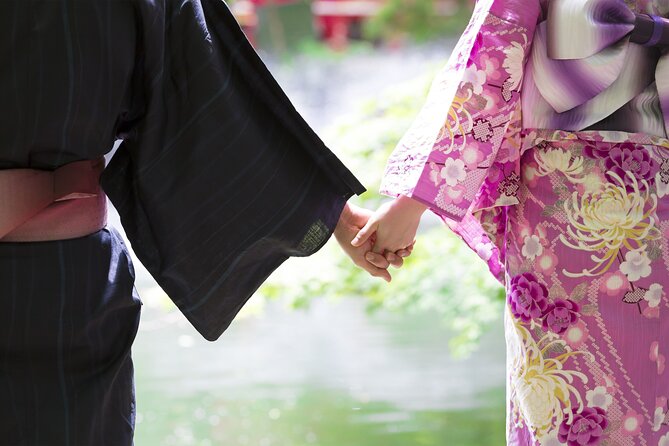
The last stop is Gion, and this is where the whole point of renting a kimono becomes obvious. Gion Hanamachi and the Chaya District area are built for traditional styling, so your outfit fits the setting better than it would in many other neighborhoods.
Because the shop is right near these areas, you can make the most of your time without a long trek back and forth. This is when you get the kind of photos that feel like Kyoto postcards, but with you actually in them.
Also, remember the end-of-day reality. You need to return by 5:00 PM to change out of your kimono. So plan your final walk like a smart photographer: choose a few “must stop” moments, then give yourself enough time to head back for the change-out process.
Should you book Momoka Kimono Rental in Gion?
I think this is a strong choice if you want a kimono day that is efficient, supportive, and photo-ready without extra stress. The top reasons to book are the kind, patient staff, their multilingual help, and the fact that you get a complete outfit plus basic hair styling with luggage handled for you.
Skip it or think twice if:
- You need a very late end to your sightseeing. The 5:00 PM return time is strict, and late returns cost extra.
- You are pregnant and would consider wearing a kimono. Wearing a kimono in pregnancy is strictly prohibited in the experience details.
- You may exceed the adult hip size limit of 130 cm.
If your goal is to look great in Kyoto while still seeing major sights in one day, this rental hits the sweet spot of value, convenience, and solid styling support.
FAQ
What does the rental price include?
The price includes a full kimono rental set: kimono (Basic Komon), obi, bag, tabi, and zori, plus dressing service, basic hair styling, and free luggage storage on-site.
Do you offer help in multiple languages?
Yes. Staff are available in Japanese, Chinese, and English.
Is hair styling included, and what are the add-ons?
Basic hair styling is included. An upgraded hairstyle is available for ¥1,650, and makeup service is offered for ¥8,800.
What time do I need to return the kimono?
You must return by 5:00 PM to change out of your kimono. The return time is strict, and late return fees apply.
How much does a late return cost?
Late return is JPY 1,100 per person for every 30 minutes. The return time is enforced, and the store closes as scheduled with no contact during business hours.
Can I return the kimono the next day?
You can request next day return, but it requires a JPY 10,000 deposit and a JPY 1,100 surcharge. If you do not return next day, it is non-refundable.
Are there any health or size restrictions?
Yes. Wearing a kimono during pregnancy is strictly prohibited. Adult kimonos are limited if hip size exceeds 130 cm.
More Tour Reviews in Kyoto
Not for you? Here's more nearby things to do in Kyoto we have reviewed





Gion & Geisha District Tours, compared.
 ★ 4.7Kyoto Geisha Walking Tour: Gion District & Hidden GemsFrom $253,273 reviews
 ★ 4.9Gion Magical Night Walking Tour with Geisha TriviaFrom $242,393 reviews
 ★ 4.7Gion Geisha District Walking Tour – Stories of GeishaFrom $202,187 reviews
 ★ 4.9Best of Kyoto: Gion, Geisha, Pagodas & CobblestonesFrom $242,058 reviews
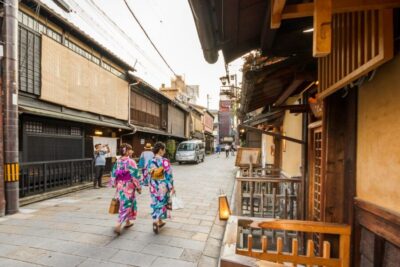 ★ 4.5Night Walk in Gion: Kyoto’s Geisha DistrictFrom $212,003 reviews
 ★ 5.0Kyoto Night Foodie Tour in Gion (9+ dishes + 6 Sake tastings)From $1631,762 reviews
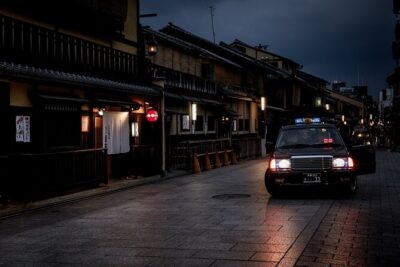 ★ 5.0Kyoto Gion Geisha District Walking Tour – The Stories of GeishaFrom $251,441 reviews
 ★ 5.0Kyoto Gion: 2-Hour Geisha Culture & History Walking TourFrom $231,186 reviews
Browse the lists this tour appears in