
Reviewed · KYOTO KIMONO EXPERIENCES
Kyoto Portrait Tour with Kimono
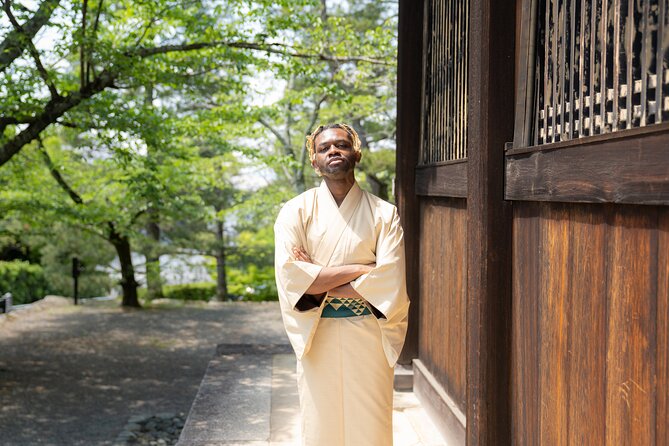
Kimono portraits in Kyoto, minus the stress. This 1.5-hour photo walk starts at Yasaka Shrine and ends at Hōkan-ji Temple by the Yasaka Pagoda, and you get to pick morning or afternoon lighting. I like that the group is capped at a small size for easier posing and more time at each spot, and I like that the photos come professionally edited. The one drawback to plan for: the kimono is not included, so you’ll need to arrange it separately.
What you’re really buying here is a focused route through well-known sights plus calmer streets nearby, with a photographer guiding you step-by-step. The tour finishes with local tips around the end area, which is handy when you want to keep exploring after your shoot. And yes, you use a mobile ticket, so you can keep things simple and move with less fuss.
Quick hits before you book
- Small group cap of 6 means less waiting and more time for poses and retakes.
- Morning or afternoon sessions help you choose the light you want for portraits.
- Kimono is on you to arrange (the tour supports the look, but doesn’t rent it).
- Route hits classic icons and quieter streets around Gion and Higashiyama.
- Professionally edited photos plus a local guide, not just a camera on a stick.
Why this Kyoto portrait tour works for real photos
Kyoto is beautiful, but it can also be chaotic for portraits. You want open space where you can stand naturally, you want your background to look intentional, and you want someone who knows where to position you when crowds swell. This tour is built for that reality.
With a maximum group size of 6, your photographer can slow down when needed. That matters for kimono portraits, since you cannot always move quickly or adjust the outfit like you can in normal clothes. Multiple reviews also point to guides being patient and explaining shrine and temple details, which helps you feel less like you’re just posing for a camera and more like you’re part of what’s in front of you.
Another practical plus is that the route is short and timed, about 1 hour 30 minutes. In busy Kyoto areas, that short duration helps you avoid the feeling of dragging your day around a long checklist.
You can also read our reviews of more tours and experiences in Kyoto.
Morning or afternoon light: the choice you actually feel in your photos
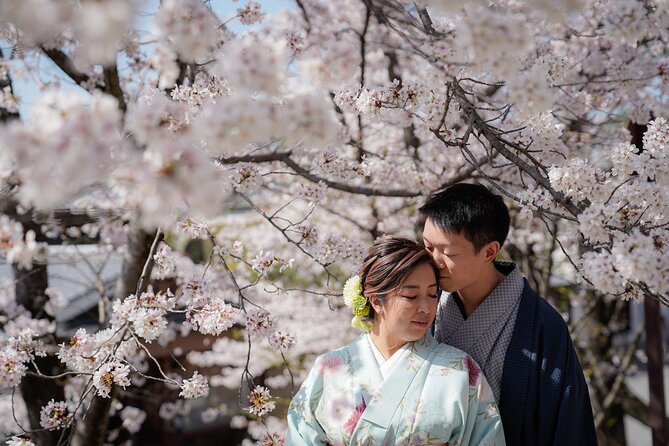
The tour lets you pick a morning or afternoon session so you can aim for the lighting you prefer. You do not need to be a photography nerd for this to matter. Softer light can help reduce harsh shadows on faces, and the angle of the sun changes how buildings and temple edges cast texture behind you.
I also like that your session is not a random time slot. When you have a choice, you can match your day to your energy level. Morning can feel calmer for walking and positioning, while afternoon can suit people who want to sleep in and still get great results.
One thing I’d keep in mind: Kyoto’s popular areas can get crowded regardless of time. That is where your photographer’s timing skills help, since good photographers look for moments when groups move on. Several guides in the past have been described as waiting for people to clear before shooting, which is exactly what you want if you’re trying to keep the background clean.
Kimono planning: what to do since it’s not included
The kimono is not included in the tour price, but the experience is clearly designed around wearing one if you want that classic Kyoto look. The good news is that you have flexibility to choose the kimono from your preferred store.
Here is how to make that work smoothly:
- Book the kimono shop for your session time, not hours after. You want enough buffer for dressing and adjustment.
- Bring the right mindset for posture. Kimono photos look best when your shoulders and hands are relaxed, and that takes a little guidance.
- Ask your photographer for pose direction. Many reviews mention that photographers gave helpful posing tips, sometimes even when someone arrived late.
If you skip the kimono, you’ll still get the walking portrait experience and the same edited photos promise. But if the kimono look is a main reason you booked, plan it early so it does not become a last-minute stressor.
Stop-by-stop route: from Yasaka Shrine to the Yasaka Pagoda
This is the part that makes the tour feel like more than just snapping photos. The itinerary moves you through a focused sequence: shrine, park, a major temple gate, a traditional alley, a scenic path, then a famous pagoda for your final portraits.
Stop 1: Yasaka Shrine
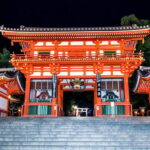
You start at the western tower gate area of Yasaka Jinja. This is a classic Kyoto opening point for a reason: it sets a traditional tone right away. You’ll get about 20 minutes here, and admission is listed as free.
I like starting at a shrine because it gives you a clear visual theme fast. If you’re wearing a kimono, the colors tend to photograph well against traditional architectural lines.
Stop 2: Maruyama Park
Next is Maruyama Park, about another 20 minutes, with free admission. This is Kyoto’s oldest park, and the seasonal notes matter. In early April, you can see cherry trees starting to bloom, and the park’s Japanese garden style gives you a calmer background than streets packed with foot traffic.
If your visit lines up with cherry blossom season or autumn later on, this stop can add a different mood without requiring a long detour.
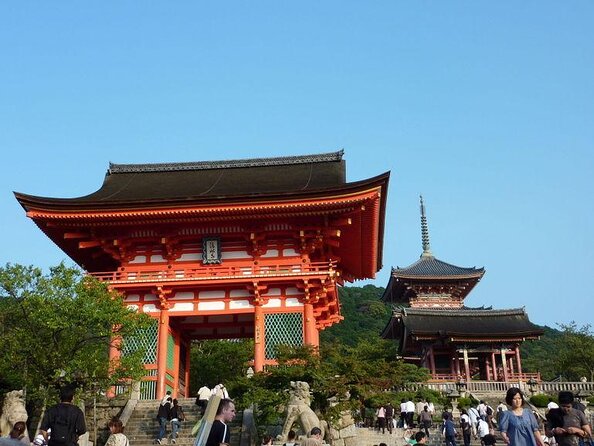
Stop 3: Chion-in Temple, Sanmon gate
Then you go to Chion-in Temple for the Sanmon Gate, with another 20 minutes and free admission. The gate is listed as 24 meters tall and 50 meters wide, and it is described as the largest wooden temple gate in Japan. The setting is dramatic, and it’s also a place where your guide can add context while you frame portraits.
A practical note: gates like this create strong visual structure behind you, which is great for portraits. It can also mean bright reflective surfaces and lots of lines. That’s exactly when a photographer’s positioning and patience help.
Stop 4: Ishibe Alley
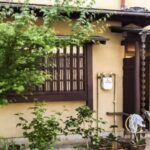
After the temple scale, the tour moves to Ishibe Alley for about 10 minutes. This is where you slow down for texture and atmosphere: traditional architecture on narrow lanes. Admission here is listed as not included.
This is also the stop where you might feel the tight space most. If you’re wearing a kimono, move carefully and trust your photographer’s instructions for where to stand and how to angle your body.
Stop 5: Nene-no-Michi (Nene Road)
Next is Nene-no-Michi for about 10 minutes, with free admission. The description highlights a flagstone walkway and the autumn look, where red leaves can appear. It also notes that Kōdai-ji is close by, and many people walk this street, so the atmosphere can be lively.
Even if you’re not traveling in peak autumn, this kind of walkway helps portraits feel grounded. You get leading lines that guide the eye through the frame.
Stop 6: Hōkan-ji Temple and the Yasaka Pagoda
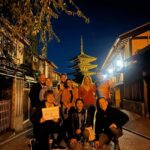
You end at Yasakanoto, the five-storied pagoda, described as one of Kyoto’s most visible landmarks. The tour finishes in front of the Yasaka Pagoda at Hōkan-ji Temple. You get about 10 minutes here with free admission, and this is your classic closing backdrop.
Many people remember this last stop because it ties the whole day together. You started with shrine tradition, you moved through gardens and temple gates, and then you close with the icon.
How the walk feels local, not just a photo checklist
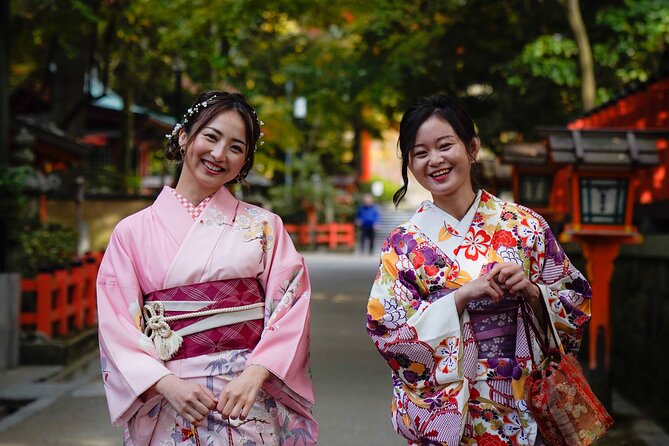
Even though the route includes big names, the flow is designed to keep you moving through Kyoto neighborhoods rather than only stopping at one overcrowded site at a time. The inclusion of Ishibe Alley and the walkway at Nene-no-Michi is a smart contrast to shrine-and-gate scale.
This matters when you’re trying to capture the Kyoto feeling beyond postcard angles. Also, a good photographer does more than take photos. Several guides in the past were described as giving local tips on what to eat nearby or where else to go after the shoot. When you finish near the Yasaka Pagoda area, that kind of guidance helps you turn your photo session into a real afternoon plan.
Your photographer: patience, English, and pose direction
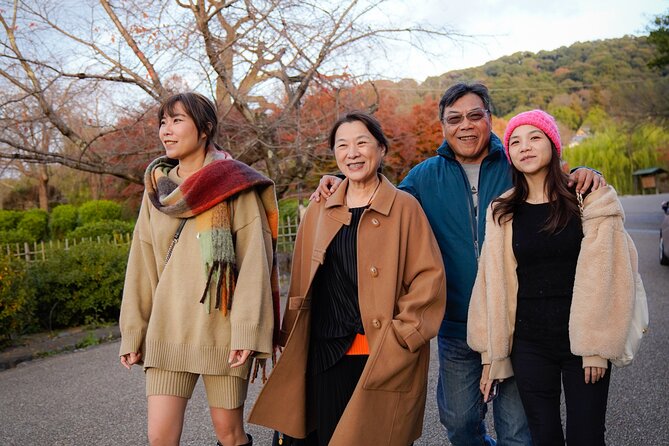
The tour meets you at Yasaka Jinja’s western tower gate area and pairs you with a local photographer for the session. The style seems to focus on comfort, clear directions, and a calm pace when crowds make it hard.
From past guides named in customer feedback, I’d expect a few repeat strengths:
- Guides who are patient and explain what you’re seeing, especially around shrines and temples. Yuta is one example mentioned for being patient and offering details.
- Quick, organized shooting when timing gets tight. Takuma was described as working efficiently while still keeping it fun.
- Professional editing and responsiveness afterward. Mina and Cocoro were both mentioned for being professional after the session too.
- Pose coaching so you don’t freeze. Multiple photographers, including Yuta, were described giving pose tips and waiting for better moments.
If you’re traveling solo in a kimono, the pose coaching piece is huge. A photographer standing behind the scenes can prevent that awkward feeling of trying to get your own photos while also walking in a delicate outfit.
Also, if you worry about language barriers, some guides were described as speaking English well, including Soma and others. You can still expect direction, since posing and framing are universal skills.
Photos and editing: what you get after the session
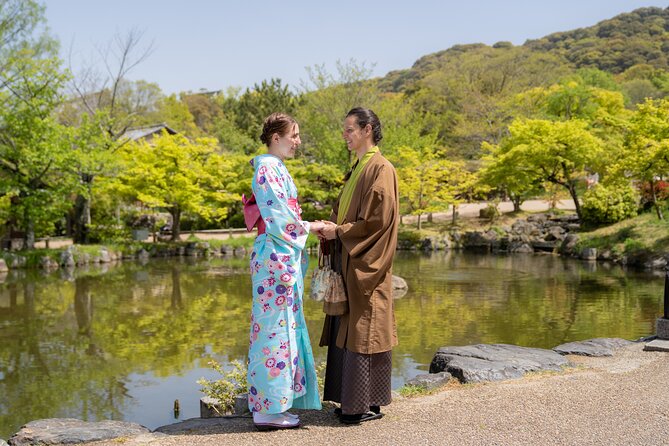
The tour includes professionally edited photos and a guide. That means you’re not just walking away with raw files.
The exact number of photos is not guaranteed in the core info, but one feedback example mentioned receiving over 60 photos. Another point that comes up repeatedly is turnaround quality: guides were described as delivering photos that look professional and editing that arrives after the shoot with helpful communication.
What you can control on your side is simple:
- Wear your kimono comfortably, because you’ll be doing a short walking circuit and you’ll need to stand for portraits.
- Arrive a bit early to avoid rushing, since even good photographers can only do so much if you’re late and need to settle quickly.
- Communicate what you want photographed, like couples portraits, solo portraits, or a few specific angles. Several reviews mention photographers accommodating personal preferences.
Price and value at $85.87 per person
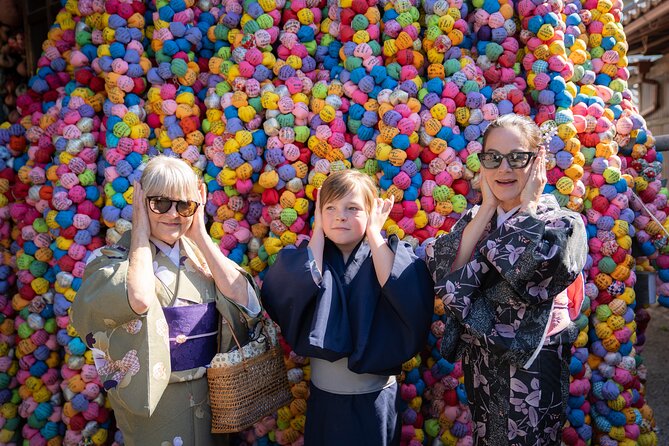
At $85.87 per person, this tour is priced like a specialized service rather than a generic walking tour. That is not a bad thing. You are paying for three main value drivers that match what matters in Kyoto:
1) Guided positioning at multiple iconic spots and calmer streets nearby
2) Time control with a small group cap of 6, which helps photos look deliberate
3) Professionally edited results, so you do not need to learn editing software on vacation
If you were to hire a photographer privately, book a long transport route, and manage your own photo planning, the costs could climb fast. Here, the route is already mapped, the shooting time is structured, and editing is included.
If you already have a kimono rental and are comfortable planning your own portrait angles, you might think this is optional. But if you want the stress removed and want a photographer who knows when crowds clear and where angles look best, it tends to feel like a fair trade.
Best fit: who should book this Kyoto kimono portrait tour
This is a strong match if you want:
- A small-group portrait experience instead of a crowded tour line
- Iconic Kyoto backdrops like Yasaka Shrine and the five-storied pagoda, plus quieter lanes like Ishibe Alley
- A photographer who gives directions, especially for solo travelers or couples
- Edited photos as a final product, not just a walking outing
It may not be ideal if you want a deep educational history tour. The session is compact, and the focus is on portraits plus basic guidance at each stop. It’s also not ideal if you want the kimono fully handled in the same booking, because kimono rental is not included here.
Should you book this tour?
My take: if Kyoto portraits are on your must-do list, this is a smart way to make them easy. The small group size, morning or afternoon lighting choice, and included photo editing are practical wins. Starting at Yasaka Shrine and ending by Hōkan-ji Temple gives you a clear beginning and a satisfying classic finish.
I would book it if you:
- care about looking good in photos, not just checking a few famous spots
- want a guide who helps with posing and timing around crowds
- are comfortable arranging your own kimono rental separately
I would think twice if:
- you don’t want to wear a kimono and prefer spontaneous sightseeing without a structured route
- you want a longer, slower tour with extended temple time at fewer stops
FAQ
How long is the Kyoto portrait tour with kimono?
It runs for about 1 hour 30 minutes.
What is included in the tour price?
The tour includes a guide and professionally edited photos.
Is the kimono included?
No, the kimono is not included.
Where do I meet the guide?
You meet at Yasaka Jinja Nishiromon Gate (Western Tower Gate), located at 625 Gionmachi Kitagawa, Higashiyama Ward, Kyoto, 605-0073, Japan.
Where does the tour end?
It ends in front of Hōkan-ji Temple at the Yasaka Pagoda area (Hōkan-ji Temple, Kyoto, 605-0862).
How many people are on the tour?
The tour has a maximum of 6 travelers.
Is it free to enter the stops?
Several stops list admission as free, including Yasaka Shrine, Maruyama Park, Chion-in Temple, and Nene-no-Michi. Ishibe Alley lists admission as not included.
What is the cancellation policy?
You can cancel for a full refund if you cancel at least 24 hours before the experience’s start time. If you cancel less than 24 hours before, you will not be refunded.
Is there a mobile ticket?
Yes, the tour uses a mobile ticket.
More Tours in Kyoto
More Tour Reviews in Kyoto
Not for you? Here's more nearby things to do in Kyoto we have reviewed

Kyoto Kimono Experiences, compared.
 ★ 5.0Kimono Tea Ceremony at Kyoto Maikoya, NISHIKIFrom $65911 reviews
 ★ 4.8Kimono Rental with Hairstyling and AccessoriesFrom $21653 reviews
 ★ 4.9Kimono Tea Ceremony at Orizuruya GionFrom $49618 reviews
 ★ 5.0KYOTO Tea Ceremony with kimono near by Imamiya Jinjya ShrineFrom $99343 reviews
 ★ 4.3Kimono and Tea Ceremony Experience at Cultural AssetFrom $222306 reviews
 ★ 4.7Traditional Kimono RentalFrom $25265 reviews
 ★ 4.9Kimono Tea Ceremony with Matcha and SweetFrom $66249 reviews
 ★ 5.0Family-Friendly Kimono & Yukata Experience at WARGOFrom $31147 reviews
Browse the lists this tour appears in